Editing a video is akin to crafting a story. The cuts and trims you make, the sequences you arrange, and the sections you delete or retain all play an important role in shaping the narrative in your video project. With Premiere Pro, you have access to a ton of tools to help you sculpt your story. In this article, we will go into three primary areas that any starting Premiere Pro user should learn: 1) how to cut, trim, and split video in Premiere Pro., 2) how to use the function of the razor tool, and 3) what essential shortcuts that can expedite your editing process.
Contents
Understanding the Basics: Cutting, Trimming, and Splitting
Before we dive into the how-to, let’s take a moment to understand the basic terms.
- Cutting: This is the process of reducing the length of a clip by removing unwanted sections. In other words, cutting involves chopping off parts of your video that you don’t need.
- Trimming: Trimming is similar to cutting, but it specifically refers to adjusting the start or end of a clip. This can help you fine-tune the timing of your video.
- Splitting: This involves dividing a video clip into two or more separate pieces. This can be useful when you need to insert another clip in the middle of an existing one.
With these basics in place, let’s move on to our first topic: how to cut video in Premiere Pro.
Getting Started: How to Cut Video in Premiere Pro
Cutting video clips can be accomplished in several ways in Adobe Premiere Pro, but the primary methods include using the Razor tool and the ‘Command/Ctrl + K‘ shortcut. We will explore these in detail below.
The Razor Tool

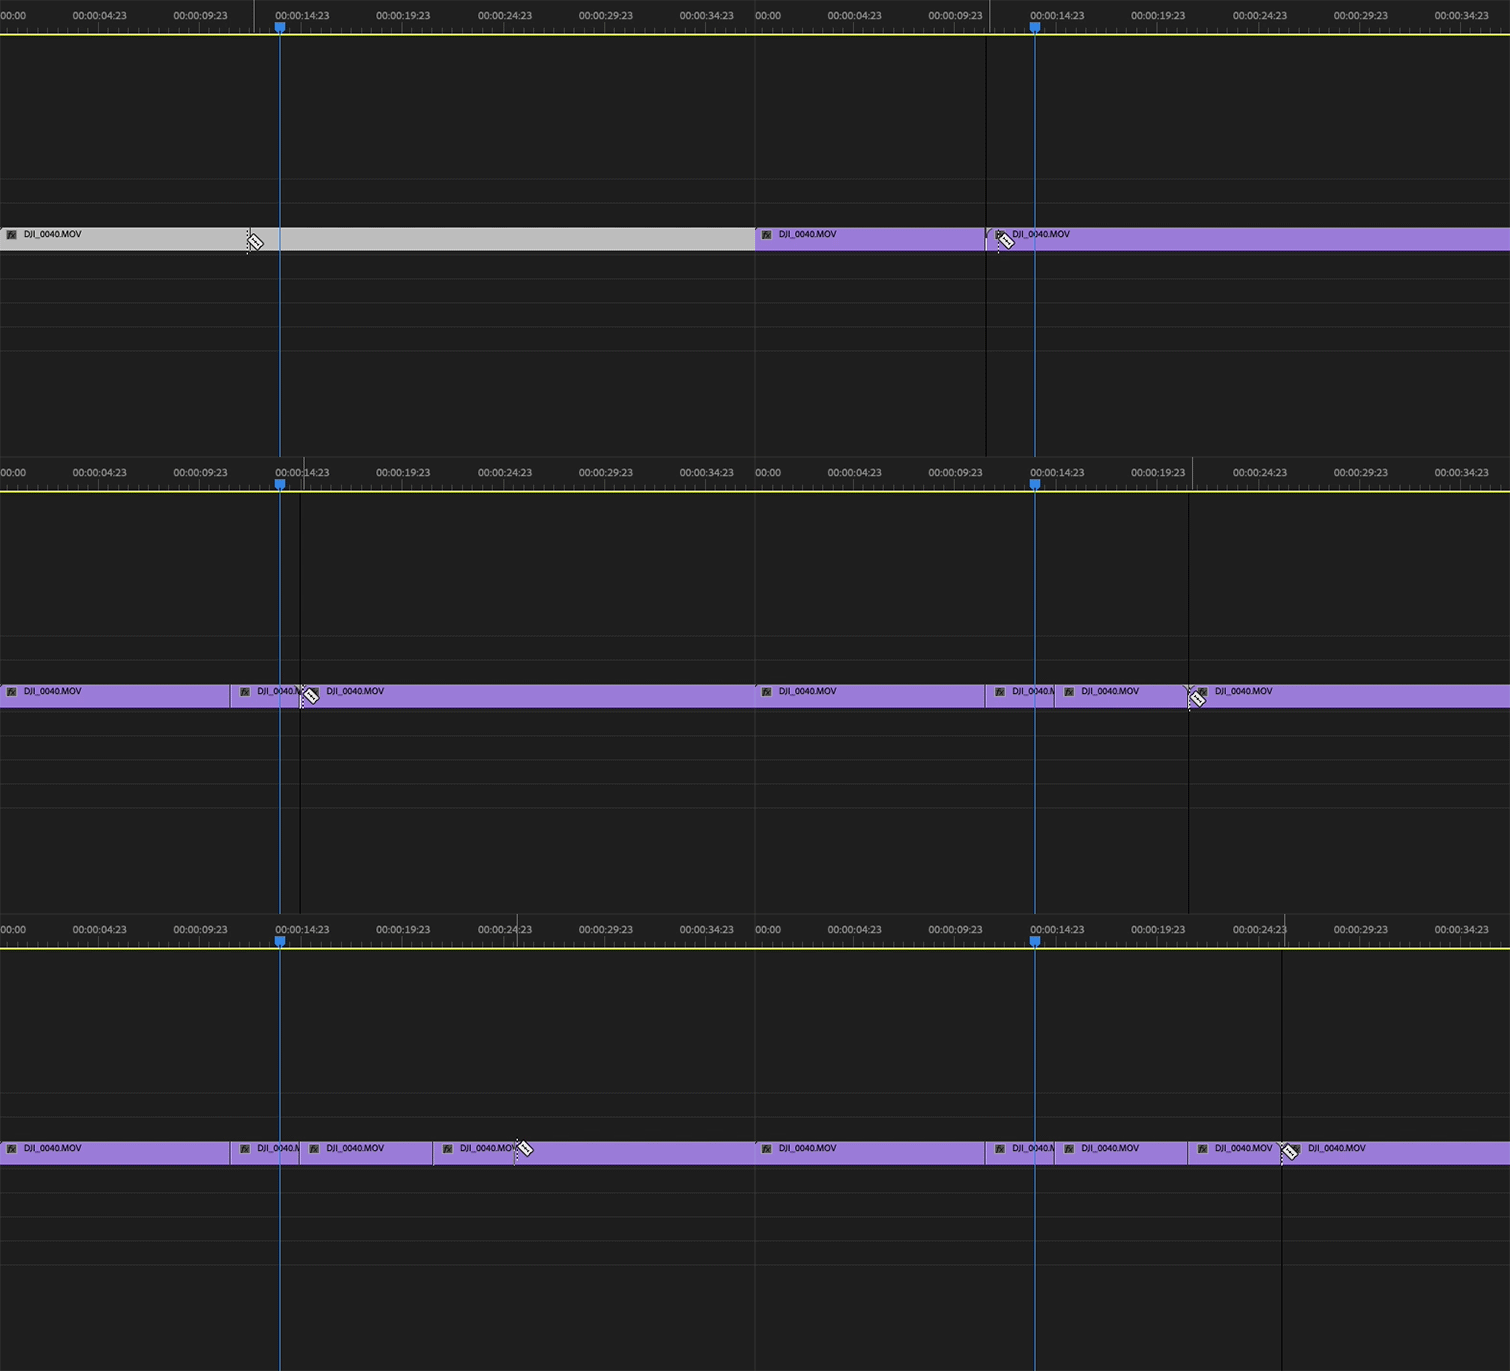
The Razor tool is the most direct and intuitive method for cutting clips in Premiere Pro. It is especially useful for beginners due to its straightforward functionality. This tool is your go-to when you need to make a quick cut or delete unnecessary sections from your video.
To use the Razor tool:
- Select the Razor tool from the toolbox (or press the C key).
- Position your cursor at the point where you want to make a cut.
- Click to make a cut.
The Razor tool is a boon when dealing with long timelines and multiple tracks. However, it does have certain limitations. For instance, it can be tedious to switch back and forth between the Razor tool and the cursor. Also, if you want the tool to magnetize to your playhead, you need to select the magnetize option.
The ‘Command/Ctrl + K’ Shortcut

If you’re a fan of keyboard shortcuts, the ‘Command/Ctrl + K’ method might be your go-to for cutting video in Premiere Pro. Here’s how it works:
- Click into your timeline where you want to make a cut.
- Press ⌘ +K (or Ctrl+K if you’re using a PC).
This will split your selected clip right at the playhead marker. You can also use shift + ⌘ +K to cut all tracks at the playhead, not just the selected ones. This is handy if you have a lot of tracks on your timeline and need to make a comprehensive cut quickly.
However, the ‘Command/Ctrl + K’ shortcut can be a bit slower when making a large number of cuts compared to the Razor tool.
Razor Tool vs ‘Command/Ctrl + K’ Shortcut
Choosing between the Razor tool and the ‘Command/Ctrl + K’ shortcut boils down to personal preference. Both methods have their pros and cons, and the choice ultimately depends on your editing style and the specific requirements of your project.
Advanced Editing: How to Trim Video in Premiere Pro
Trimming is an essential aspect of video editing. It allows you to refine your clips and make precise adjustments to the start and end points. Trimming in Premiere Pro is mainly achieved using the Ripple/Trim tool.
The Ripple/Trim Tool

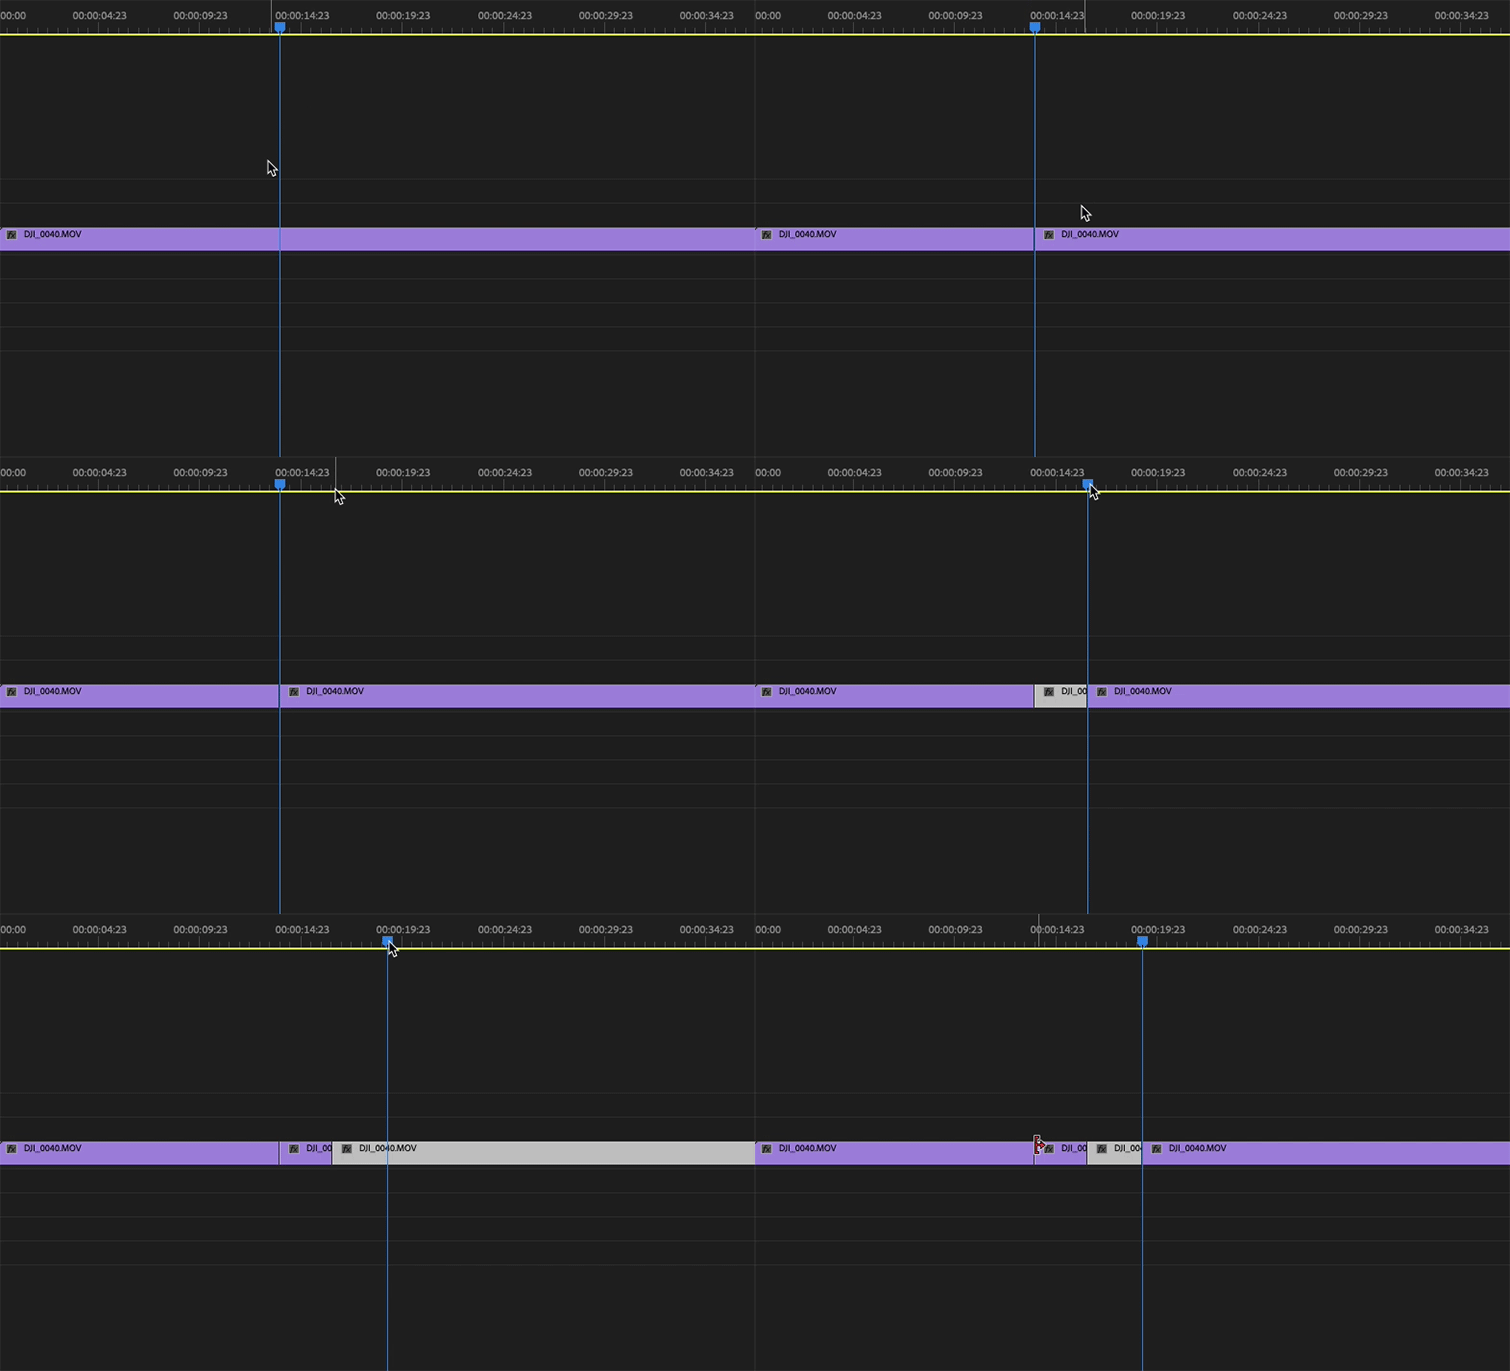
The Ripple/Trim tool is an invaluable resource when it comes to trimming or extending the ends of clips. Here’s how to use it:
- Hover your cursor over the end of the clip you want to trim.
- Once the red block arrow appears, click and drag to trim or extend the clip.
The Ripple/Trim tool can also be used to perform a “ripple delete”. This is where the adjacent clip snaps to the edit point when you cut a clip. To do this, trim the end of your clip while holding shift.
In summary, the Ripple/Trim tool is excellent for final-pass editing, where you need to cut out large chunks of your timeline to fit a certain length without having to edit individual clips.
Splitting Clips: Divide and Conquer
Sometimes, you might need to split a clip into several parts. This is where the Razor tool comes in handy again. Here’s how to split video in Premiere Pro using the Razor tool:
- Select the Razor tool from the toolbox (or press the C key).
- Position your cursor at the point where you want to split the clip.
- Click to split the clip into two parts.
Remember, after splitting a clip, each part becomes independent of the others, and you can edit them separately.
Choosing the Right Tool: What’s Best for Your Workflow?
When it comes to deciding which tool to use – Razor, ‘Command/Ctrl + K’, or Ripple/Trim – a lot depends on your specific editing needs and personal preferences. Some editors prefer the simplicity and directness of the Razor tool, while others might be more comfortable using keyboard shortcuts. At the end of the day, the right tool is the one that allows you to work most efficiently and effectively.
Enhancing Your Editing Speed: Mastering Premiere Pro Shortcuts
Premiere Pro offers a host of keyboard shortcuts that can help you speed up your editing process. Here are a few key ones that you should keep in mind:
- I & O: Set In and Out points for a clip before adding it to your timeline.
- Up & Down Arrows: Navigate up and down your timeline between clips.
- M : Create a marker at the current position of your playhead.
- J, K, and L : Control playback. “L” is for play, “J” is for reverse, and “K” is for stop.
For a more comprehensive list of Premiere Pro keyboard shortcuts, check out this tutorial.
Final Thoughts
Learning how to cut video in Premiere Pro, how to trim video in Premiere Pro, and how to split video in Premiere Pro is all about understanding the tools available to you and how to use them effectively. Whether you’re a beginner or a seasoned pro, mastering these techniques will greatly enhance your video editing skills in Premiere Pro. In the end, the best tool is the one that fits your workflow and allows you to work most efficiently.
The visual steps presented in this article are courtesy of PremiumBeat, a leading supplier of royalty free music.
